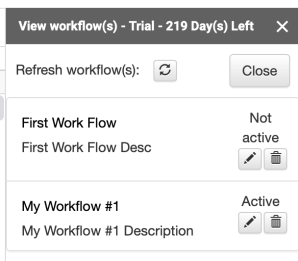
Automatic Workflows is a powerful tool that allows users to create different workflows, include specific templates, set up different schedules for various workflows, and notify the customers and clients using different automated notifications within the same spreadsheet.
Automatic Workflows help G-Accon users to organize all workflows within their spreadsheet in a more concise manner. Furthermore, users can automate their business processes – including tasks like refreshing the queries/reports, uploads, sending emails, setting up alerts, and much more.
A key benefit of Automatic Workflows are their efficiency and consistency. The ability to view and edit all of your workflows in the same place helps to create productivity in your process flows and eliminate failures.
Why do you need to create a workflow?
- Workflows help to Refresh Google Spreadsheets automatically using a flexible schedule for the different templates within your Google Sheet.
- Automated Workflows help to Create BI dashboards by connecting your Spreadsheets to Google Data Studio, Google Chart, Tableau, Looker, Power BI, and other visual BI solutions by setting up the auto-refresh processes.
- Workflows aid in using a flexible schedule to Refresh the financial/business reports & dashboards automatically when you are offline.
- You now have the ability to see your whole schedule in one place.
How can you create a workflow?
In order to create a workflow, you need to be logged into the current organization/entity. Then, from the G-Accon menu, you need to select: Automation -> Create Workflow.

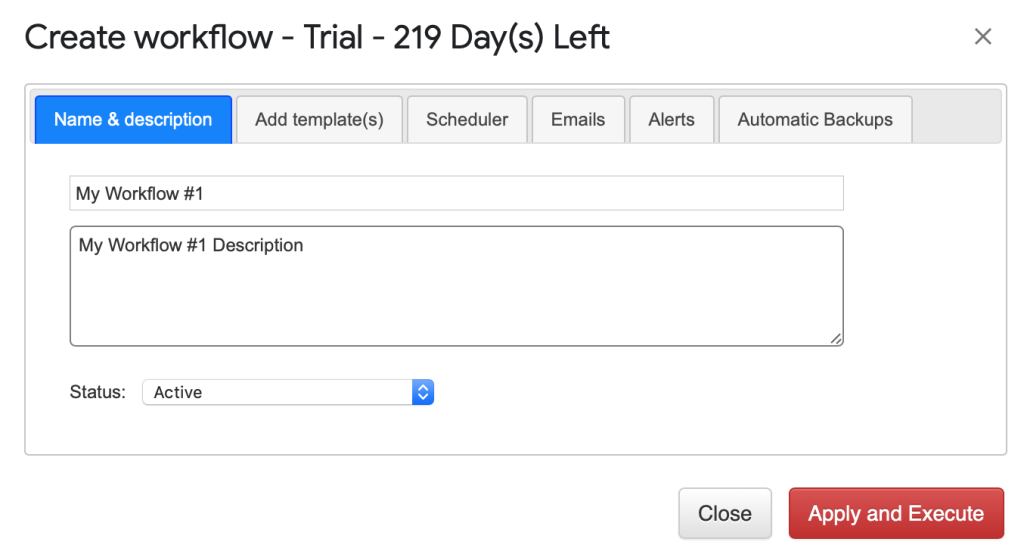
In the first tab “Name & description” of the Create Workflow module, you need to specify the name of the workflow and its description. There are two statuses are available to you: Active and Not Active. If your workflow is not ready to be executed, the status needs to be set up as “Not active”. In our example, the name of the workflow is “My Workflow #1” and its description is “My Workflow #1 Description”.
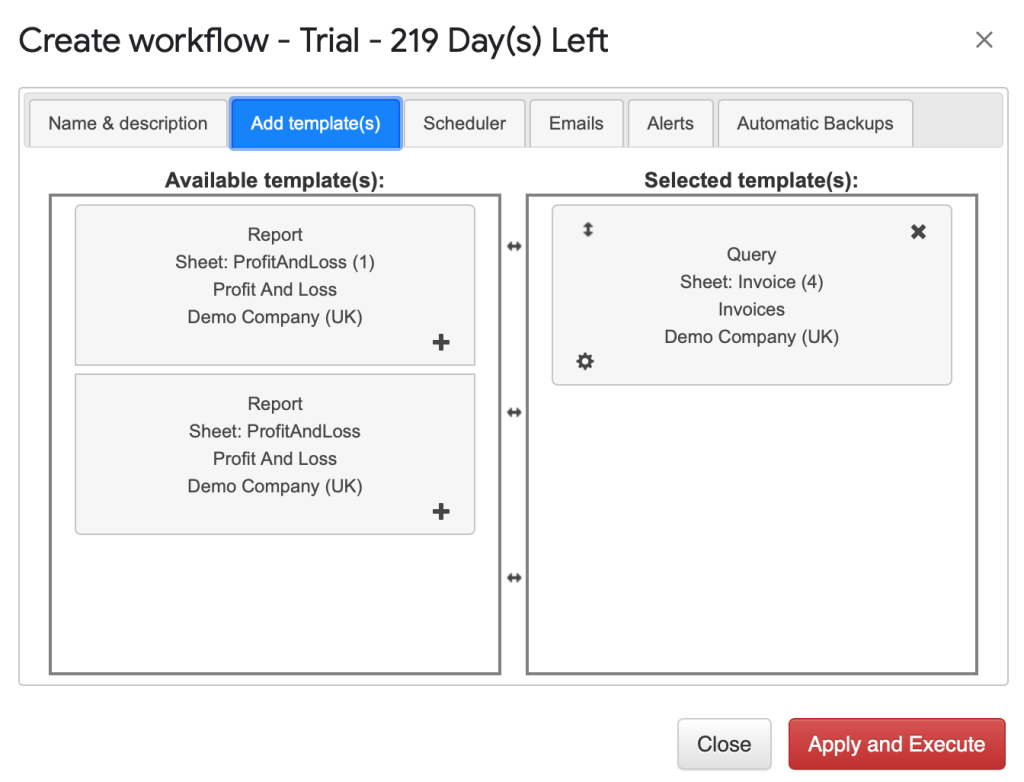
The next step is to add the desired templates through the “Add template(s)” tab. We have provided user friendly interface which allows our users view all existing templates. By clicking “drag and drop”, users will be able to move the selected templates to the right “Selected template(s)” window. The selected templates will be part of your workflow. In our case, Invoice (query) will be part of the “My Workflow #1” workflow.
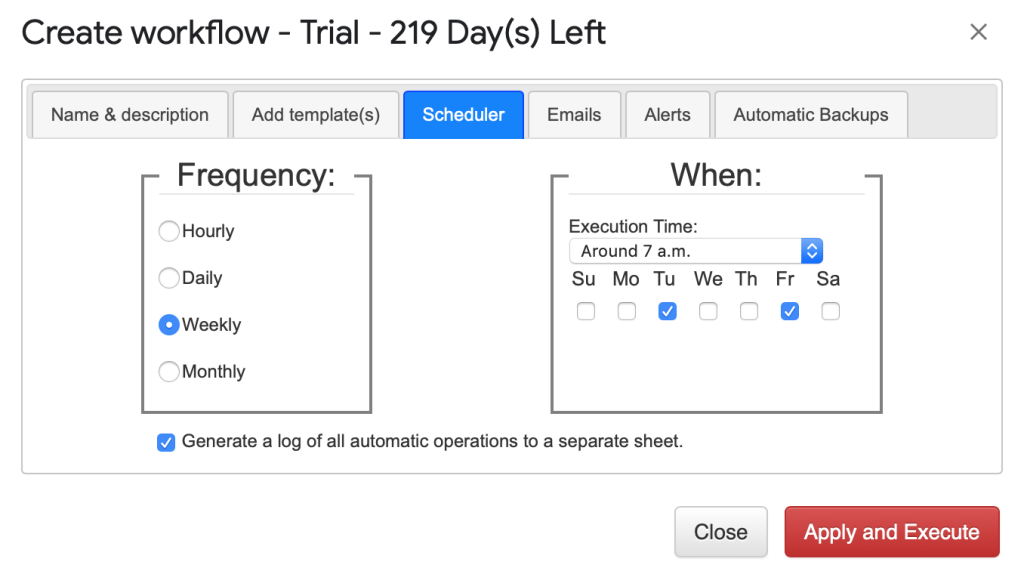
The third step is to set up the schedule in the “Scheduler” for your new workload to automate the refresh process. You have the ability to chose the frequency of the refresh, specific day of the week (if you use Weekly or Monthly frequencies), and time.
Email notification is a very powerful functionality that allows you to notify your customers about successfully refreshed queries/reports and provide them with the result of these updates as an attachment in Google Sheets, PDF (portrait and landscape view), Excel, or CSV file. In addition, you have the ability to adjust the body of your email to the right, to the left, center, or by the justify option.

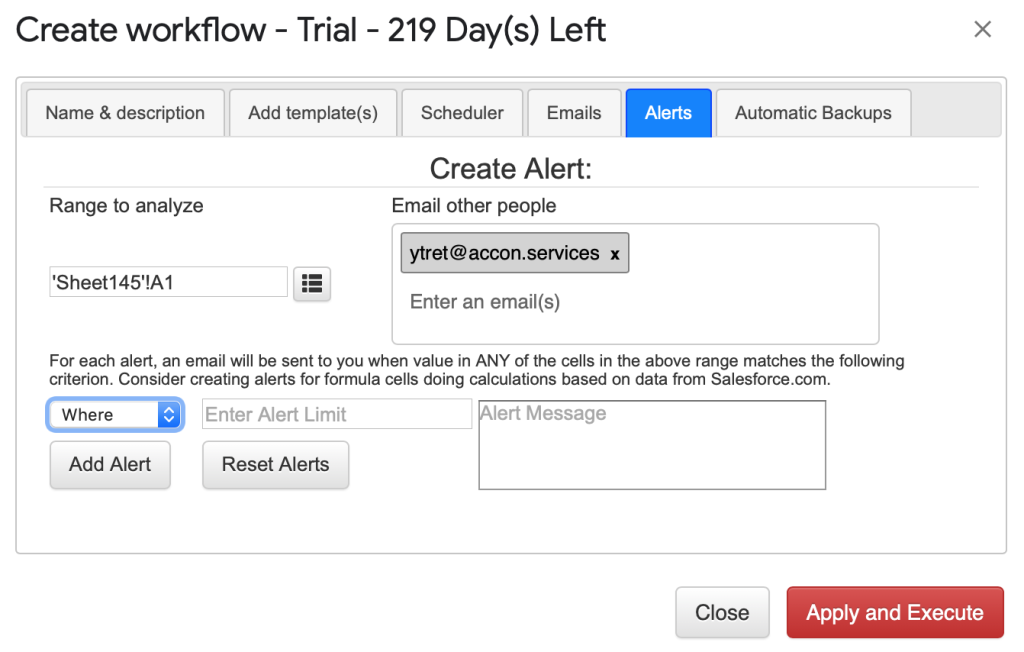
Alert Generation is another practical and powerful feature that allows you to send alerts and notifications based on your individual business needs.
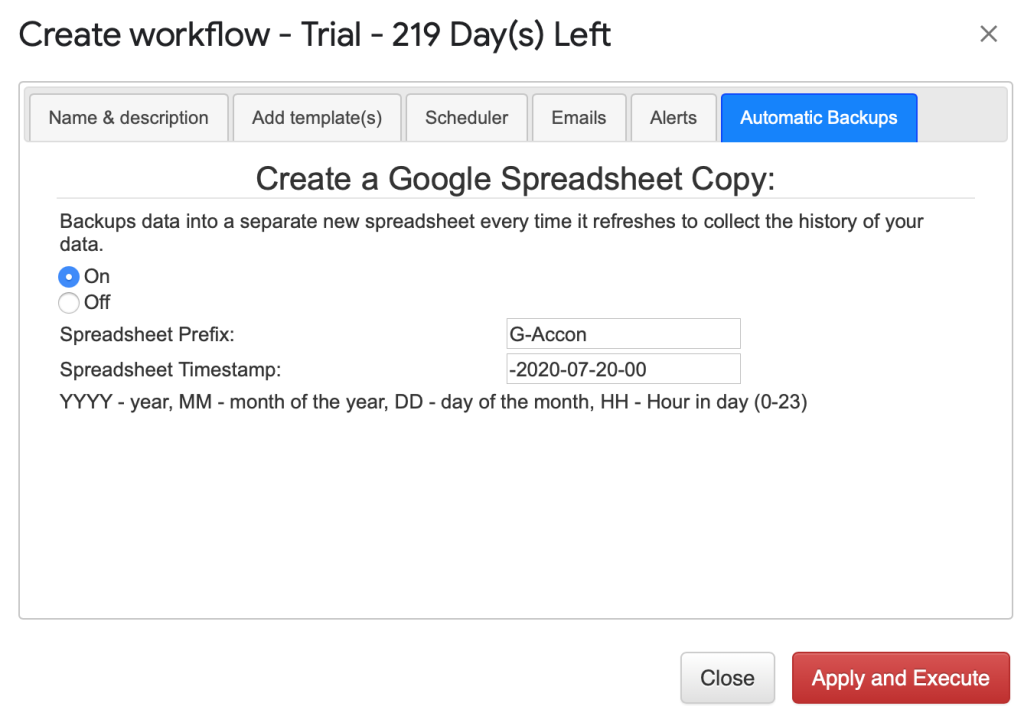
And finally, if you want to create a backup of your workspace in your Google Drive, you will need to select the “On” radio button and specify both the spreadsheet prefix and timestamp.
How can you update/modify or delete a workflow?
To see, modify, or delete your existing workflows from your Google Spreadsheet, you need to select the following: Automation -> Update/Modify/Delete Workflows.

The “View workflow(s)” window will be displayed to the right on your screen. You can see all existing workflows, their statuses (Active/Not Active), and you will be able to modify or delete them.
